From now on, emails can be sent in bulk to defined recipient lists. Sending is handled asynchronously. This means you create a campaign, set the delivery time - and Starhunter automatically takes care of the sending. An active internet connection at the time of delivery is not required.
TABLE OF CONTENTS
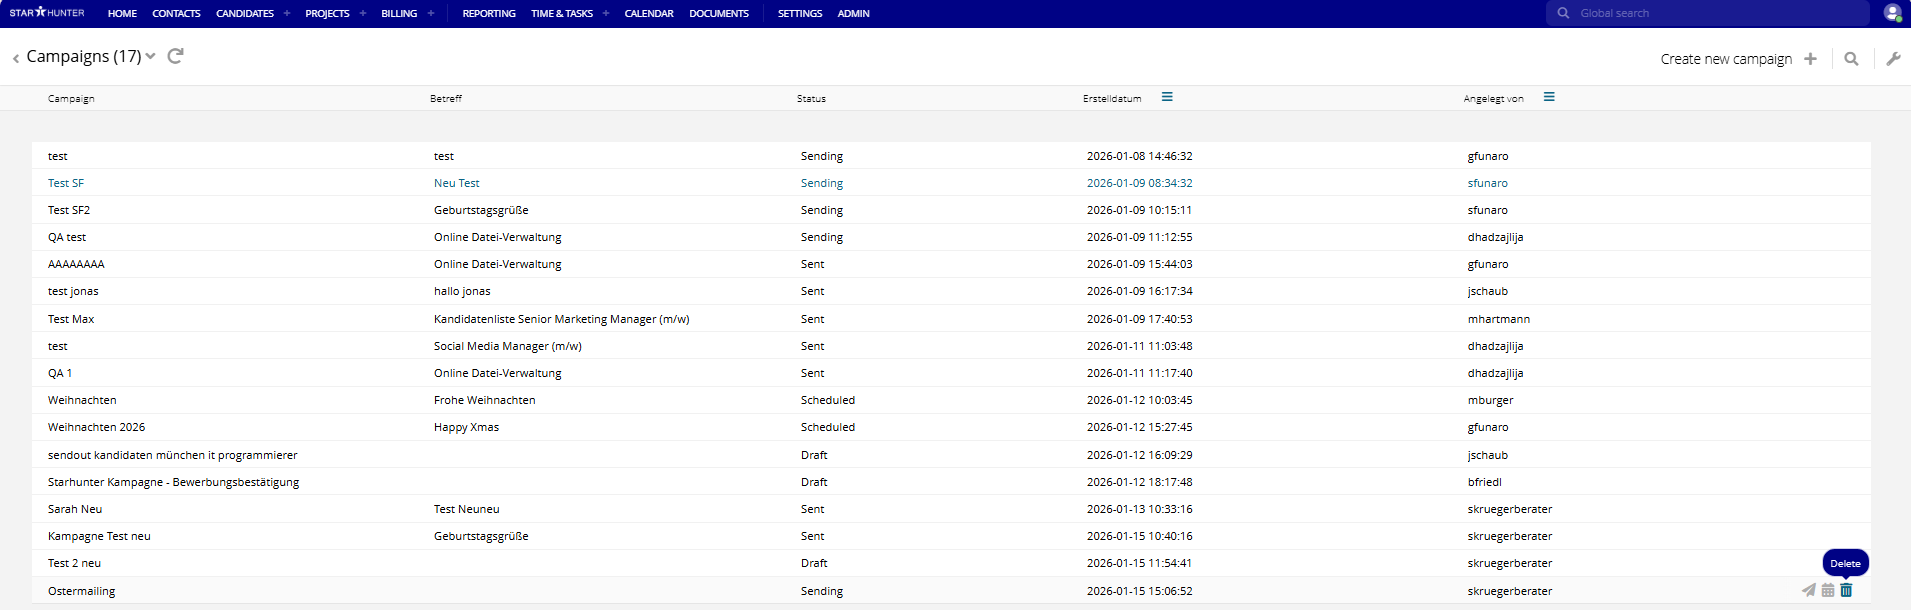
Campaign overview
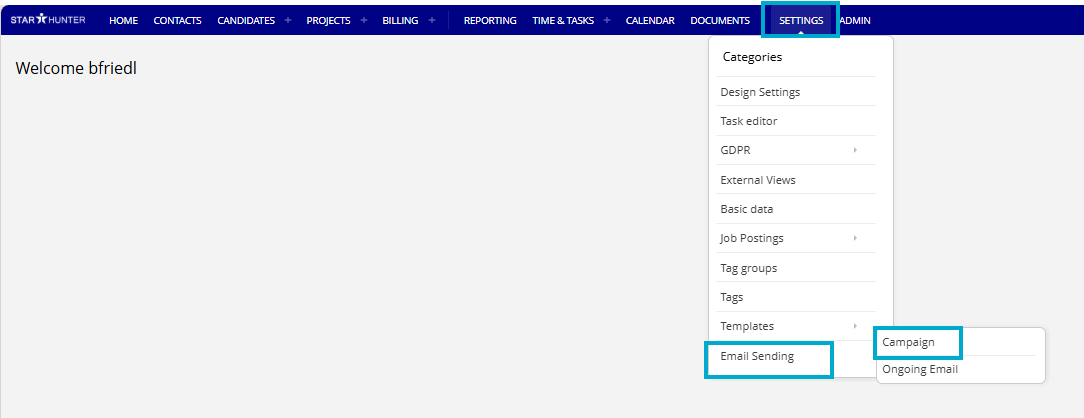
You can access the campaign management in your Starhunter system via:
Settings → EMail Sending → Campaigns
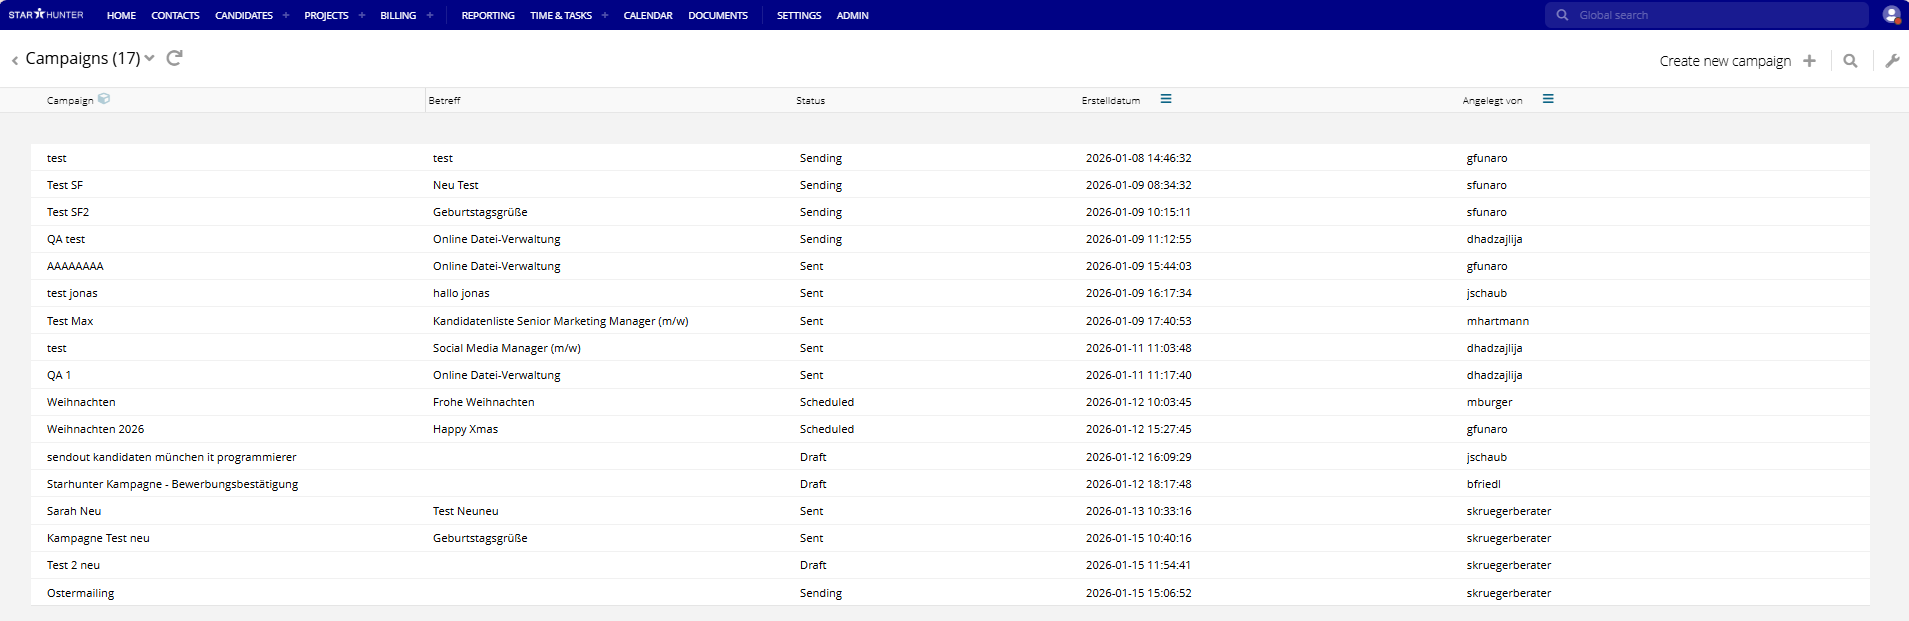
In the campaign overview, the following columns are displayed by default:
- Campaign name
- Subject
- Status
- Created on
- Created by
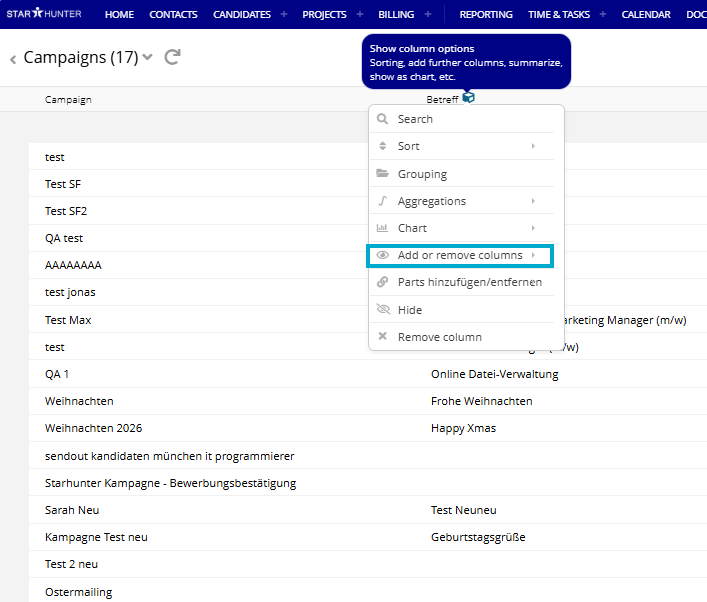
Edit displayed columns
You can customize which columns are shown - for more details, see the following article: Customizing and Saving Search Queries : Starhunter
Hower your mouse over a column header
Open the column options
Select "add / remove columns"
Enable the additional columns you want to display
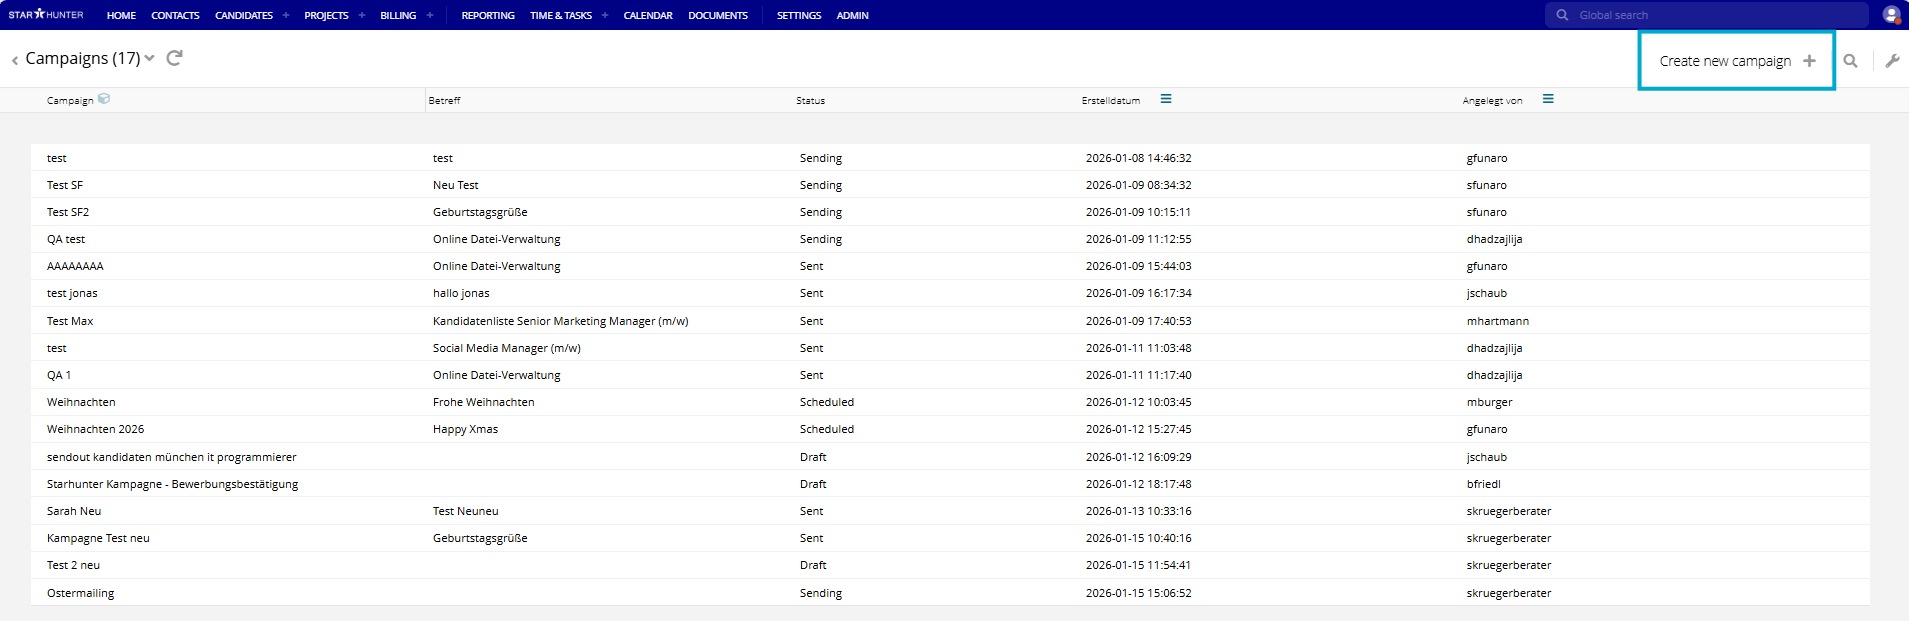
Create a campaign
Click “+ Create campaign” to create a new campaign.
You will then be taken to the campaign details page, where you can configure all settings.
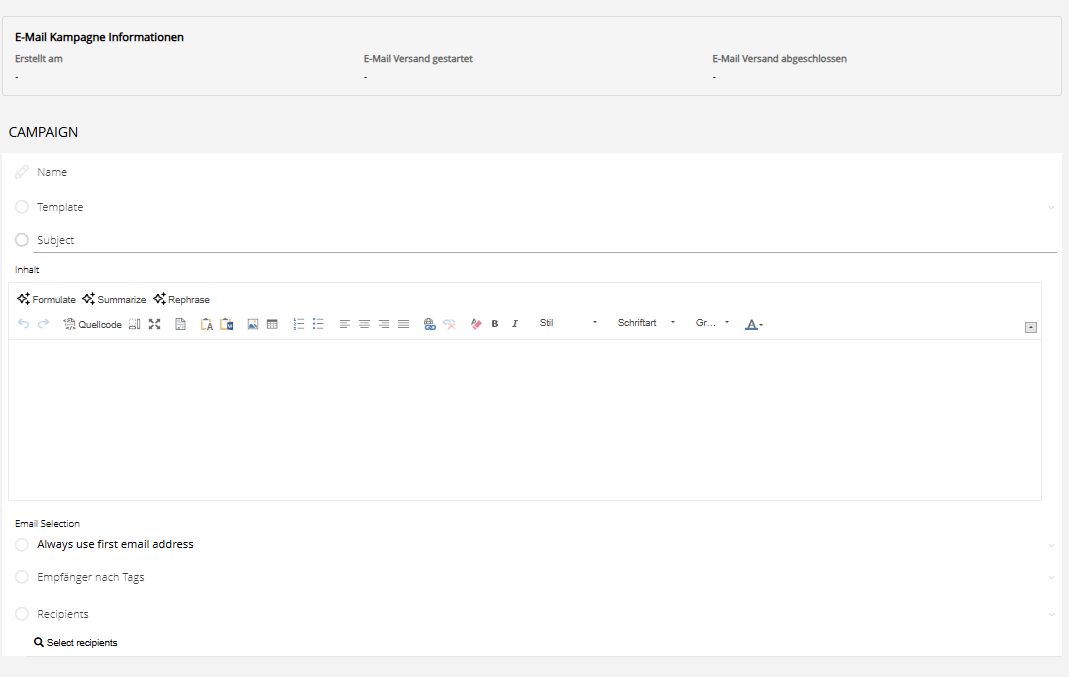
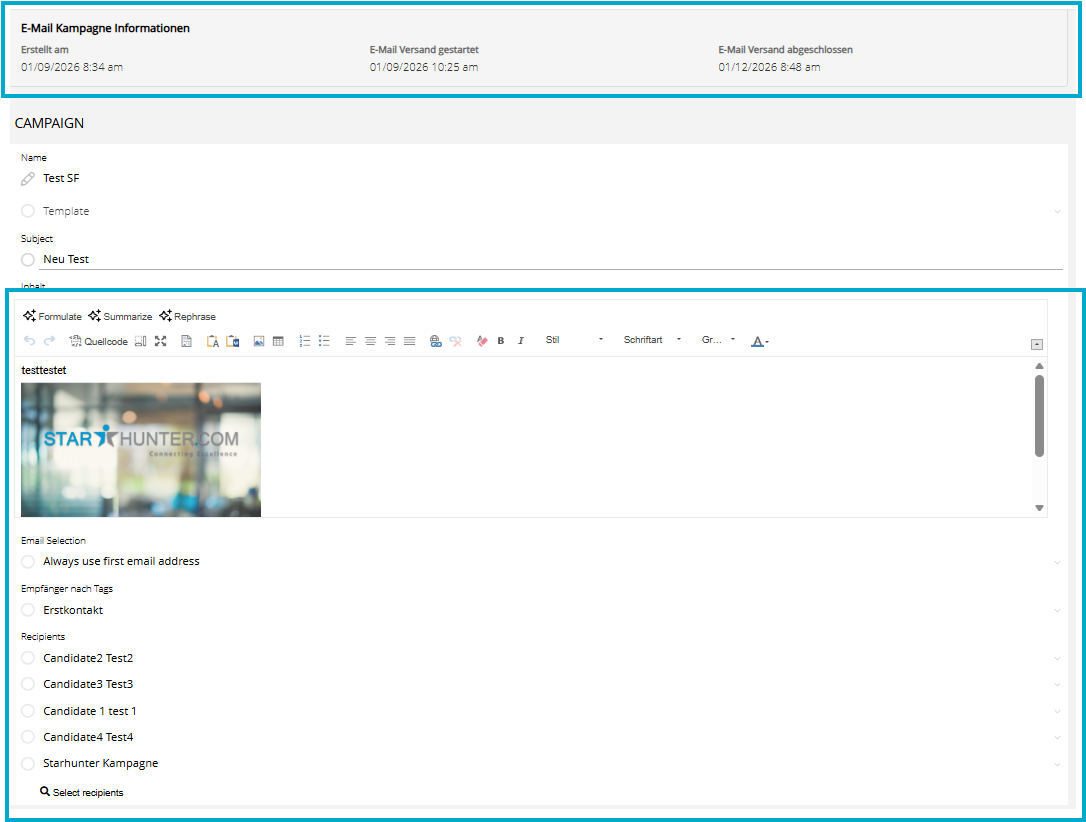
Notes on using the campaign fields
- Sender: The email address stored in your master data will be used.
- Templates:The content of the selected template is copied into the subject and body. You can freely edit both fields. The original template remains unchanged and is used only as a reference.
- Email selection: Defines which email address of a recipient is used if they have multiple addresses. You can choose between the first, the last, or an email address with a specific label.
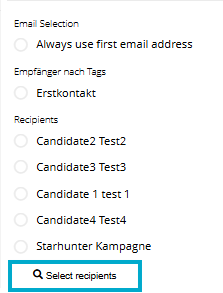
- Recipients by tags: Select tags to define the recipient group. The campaign will be sent to all contacts with the selected tag. You can also create new tags specifically for the campaign. Learn how to create new tags here: Using Tags in Starhunter : Starhunter
- Additional individual recipients: Add individual recipients in addition to the tag selection. The campaign will then be sent both to all contacts with the selected tag and to all people listed here.
To add additional recipients, first click “Select recipients.”
A pop-up will then open showing all existing contacts. Using the quick search on the right-hand side, you can easily find relevant recipients and add them to the campaign.

Send or plan campaigns

Once the content and recipients have been defined, you can choose:
Send immediately
Schedule delivery
Send immediately
Once a campaign has been finalized, it can be sent immediately if desired.
To do so, click the “Start sending” button in the top right.
Before sending, you will see an overview where you can review:
Content
Recipients
Invalid or missing email addresses
Click “Confirm” to start the campaign right away.

Schedule delivery
By clicking “Schedule delivery,” you also have the option to set a future sending date and time: 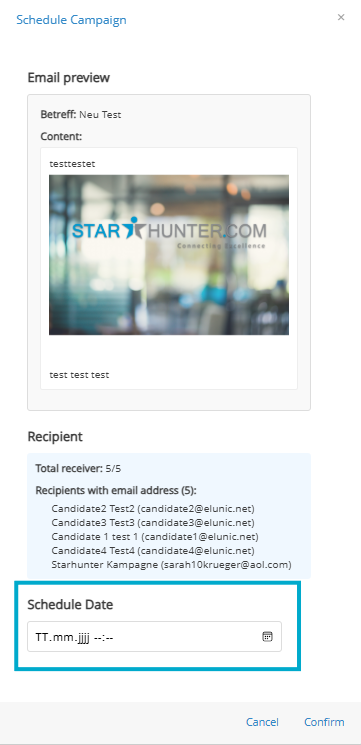
By clicking “Confirm,” you will start the campaign at the selected delivery time.
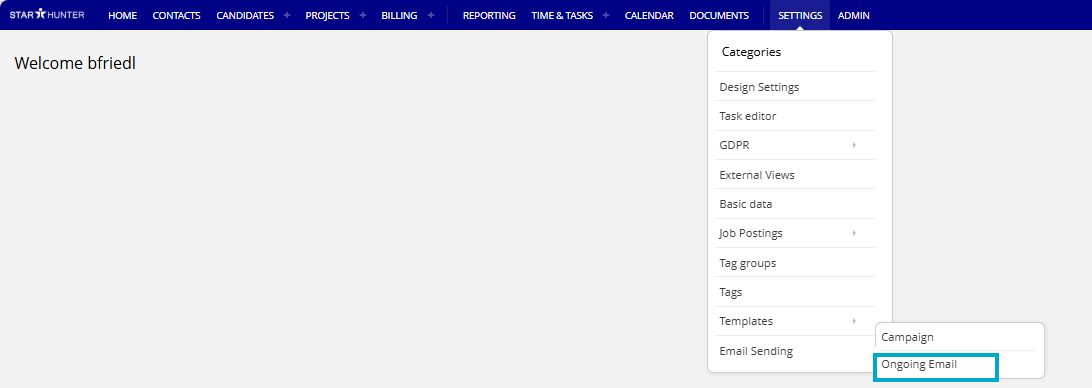
View Outbox
Scheduled campaigns and their associated recipients can be viewed in the Outbox "Ongoing Email".
View and edit existing campaigns
All campaigns that have already been created or sent are listed in the campaign overview, where they can be viewed and edited.
View campaigns
All existing campaigns can be opened. Before the campaign content, the following information is displayed:
Creation date
Email sending started
Email sending completed
This gives you a quick overview of the status and history of each campaign.
Delete campaigns
Existing campaigns can be deleted in the campaign overview. Move your mouse over a campaign to reveal icons for sending, scheduling, and deleting on the right side of the entry.
Note: Only campaigns that you created yourself can be deleted using the trash icon. For campaigns created by other users, this option is not available.
Was this article helpful?
That’s Great!
Thank you for your feedback
Sorry! We couldn't be helpful
Thank you for your feedback
Feedback sent
We appreciate your effort and will try to fix the article