- Click here to open the article in a new window.
INHALTSVERZEICHNIS
- Email Synchronization
- Email Linking of the Personal Mailbox
- Configuring Email Synchronization
- Configuring Email Sending from Basic Data
Email Synchronization
The configuration of the email incoming and outgoing server enables the sending of emails and their synchronization with Starhunter. With a successful email connection, emails can be sent directly from Starhunter. Emails are assigned to people or companies in Starhunter based on the email address and are visible in a preview within the activity timeline of the corresponding person or company.
Additionally, there is the option for bidirectional (two-way) synchronization of emails. This setting must be configured separately after linking the email by selecting the desired email folders from your provider for synchronization. If configured correctly, sent or received emails (e.g., from Outlook) will also be automatically assigned to people and companies.
Below, you will find some important notes, followed by a step-by-step guide for successful email linking and all necessary settings.
Important Notes
- When displaying the folder structure, there is no insight into the stored emails within the folders. Only the folder names are displayed in Starhunter.
- Only emails from the folders you have selected for synchronization will be synchronized.
- Emails are assigned based on the email address of the person or company and are visible in their activity timeline.
- To ensure targeted and smooth synchronization of emails and avoid high data volumes, we recommend setting up a separate subfolder within your email provider’s folder structure, for example:
- Inbox/Starhunter
- Sent/Starhunter
- This way, only the emails that you actively move from the inbox to the subfolder (e.g., in Outlook) will be synchronized with Starhunter. This offers the following advantages:
- Avoidance of high data volumes
- Improved synchronization
- Only emails you consider important are synchronized, keeping the activity timeline clear and preventing simple emails (e.g., "Thank you") from cluttering it.
- The synchronization of selected emails occurs approximately every 10 minutes, depending on the data volume. If no folders are displayed, the entered data under 'Email Incoming Server' must be corrected.
- The two-way email synchronization is a complex process that depends on various settings of the respective email provider.
- Starhunter has an excellent email synchronization rate, but due to various dependencies, we can only exert limited influence. Therefore, no guarantee can be given that every single email (100% success rate) will be synchronized.
Email Linking of the Personal Mailbox
Linking with Microsoft 365 & Gmail
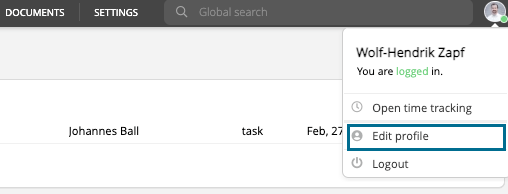
- Open your personal profile by clicking the top-right corner and selecting "Open Profile."

- Enter your email address below your name in the personal profile and save it (the email address must match exactly with your email provider)

- Ensure that you are already logged into Outlook or Gmail
- Click on the "Email" tab on the left side of the personal profile.
- Click on the Microsoft or Google icon depending on your provider and select "Connect Email."E-Mail verbinden Englisch

- A pop-up window will appear where you confirm the synchronization by entering your email address and then your password
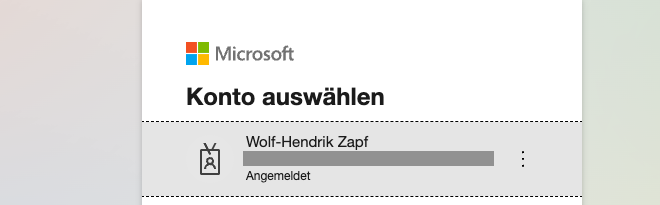
- Click on the account to establish the connection
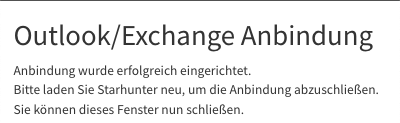
- Upon successful linking, you will receive a confirmation message
- Please refresh the Starhunter team profile page to complete the setup.
Known issues connecting to Outlook
You may receive a message during login stating that access must be approved by your administrator. In this case, please forward the following information to your IT service provider:
The connection to Microsoft Outlook is established via an app registration, which is verified through our parent company, elunic.com. This governs the access rights that the Starhunter system has in Outlook. For many Outlook users, this works without any adjustments. However, depending on security policies, access may need to be enabled by the managing IT department. This refers to the app registration with ID68a3a7e8-db53-418f-9c49-fa0518677024in the elunic tenant568d42aa-e517-489a-b9f5-6db09151bc86
Email Linking with Other Email Providers
- Open your personal profile by clicking the top-right corner and selecting "Open Profile"
- Enter your email address below your name in the personal profile and save it (the email address must match exactly with your email provider).

- Ensure that you are already logged into Outlook or Gmail.
- Click on the "Email" tab on the left side of the personal profile

- Click on the plus symbol under "Email Incoming Server" to "Set Up a New Mailbox

- Manually enter the required data in the pop-up window:
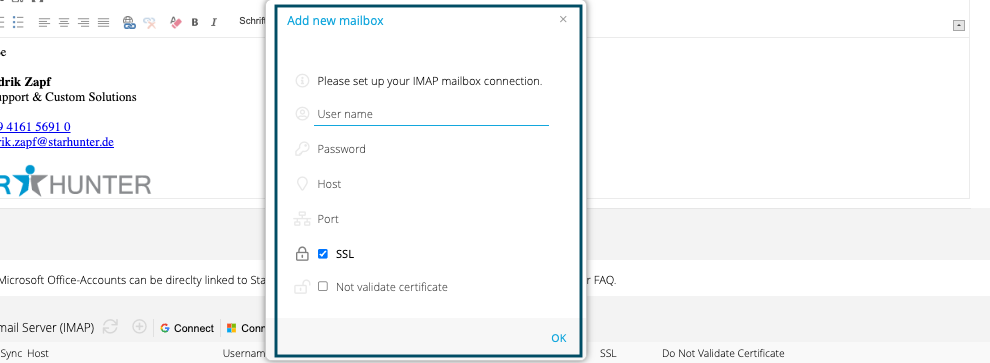
- Confirm with "OK."
 Click on the plus symbol under "Email Outgoing Server" to "Set Up a New Mailbox"
- Enter the following information
- Abender Name (Sender Name)
- Username: Corresponds to your email address.
- Password: The same password as your email mailbox.
- Email Address: Matches the email address.
- Host: Provider-specific (please look up online), e.g., smtp.web.de for Web.de.
- Port: Provider-specific (please look up online), e.g., 587 for Web.de.
- SSL: Provider-specific (please look up online), e.g., enable SSL for Web.de.
- Type: Provider-specific (please look up online), e.g., SSL for Web.de.
- Confirm with "OK."
- Check the box for "Email Incoming Server" to activate the sync.
Important:
The information regarding host and port must be obtained from your email provider or found through an online search. These are email host-specific. The username and password are the same as those used for your email program.
Configuring Email Synchronization
A prerequisite for bidirectional (two-way) email synchronization (provider-independent) is the successful linking of your incoming and outgoing servers from the previous steps.
Once successfully linked, you can select the folders whose emails should be synchronized with Starhunter. Follow these steps:
- Click on the "Email" tab on the left side of your personal profile

- Hover over the entry in the incoming server row and click "Element anzeigen" (Show Element)

- Select the folders to be synchronized and save the settings

- Click "Retrieve Mailbox"

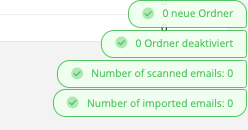
- If set up successfully, the number of folders and synchronized emails will be highlighted in green at the bottom right
Note:
This does not provide insight into stored emails within the folders. Only the folder names of your email provider are displayed in Starhunter.
Disconnecting the Email Connection
The email connection can be removed in your team profile by clicking the "X" next to the Microsoft or Gmail logo and selecting "Disconnect Email."Then refresh the profile page.

Configuring Email Sending from Basic Data
General Notes
Setting up the outgoing server in the master data is essential to enable the sending of all automatically generated emails from the system, such as opt-in email reminders for candidates in Starhunter, via an individual address.
We recommend using a general email address like info@companyname.com or similar, such as jobs/careers@company.com. Other variations are possible, but the email address stored in the master data should not match the one in the personal profile.
It is important that this email address has its own mailbox and is not just an alias.
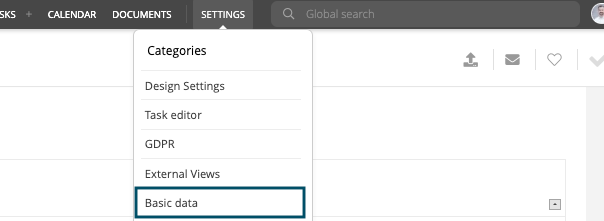
- Go to Settings > Master Data
- The setup via Office 365 works similarly to the personal profile but should use a general email address (see General Notes)

- The setup via other providers follows the same steps as outlined for other providers in the personal profile but must use a general email address (see General Notes).
- Refresh the tab after successful linking.
- To check the connection, you can send yourself a test email via the email button.

Automated Notification for Securing the Data Protection Process
If the sending of data protection/master data emails fails, you will receive an automatic notification from the Starhunter system.
This notification is sent to the email inbox specified in the master data under "Standard Sales Data.

Was this article helpful?
That’s Great!
Thank you for your feedback
Sorry! We couldn't be helpful
Thank you for your feedback
Feedback sent
We appreciate your effort and will try to fix the article